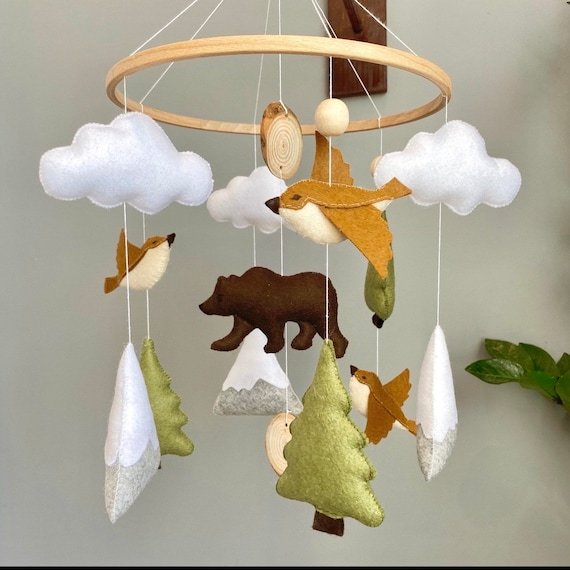
This step-by-step guide provides detailed instructions on how to design and assemble a forest theme baby mobile. The purpose of this guide is to assist individuals in creating a handmade mobile that features elements from the forest, perfect for decorating a nursery or a baby’s room. Each step is clearly outlined, from gathering materials such as felt, yarn, and a hoop, to cutting out shapes of woodland creatures and assembling them into a charming mobile. By following these instructions, anyone can easily create a personalized and adorable forest-themed mobile for a baby’s crib.
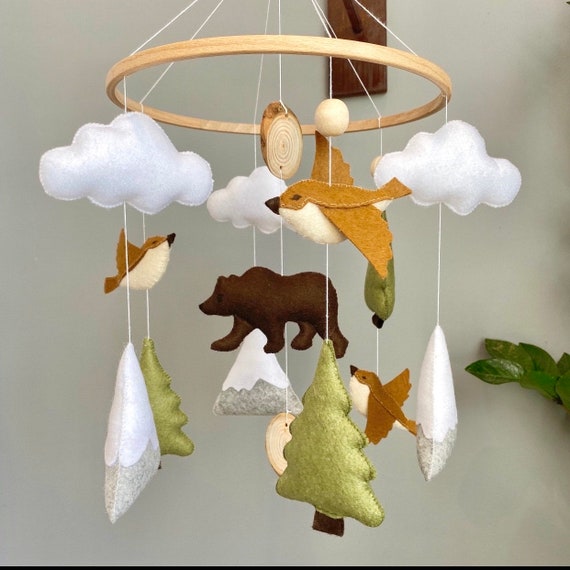
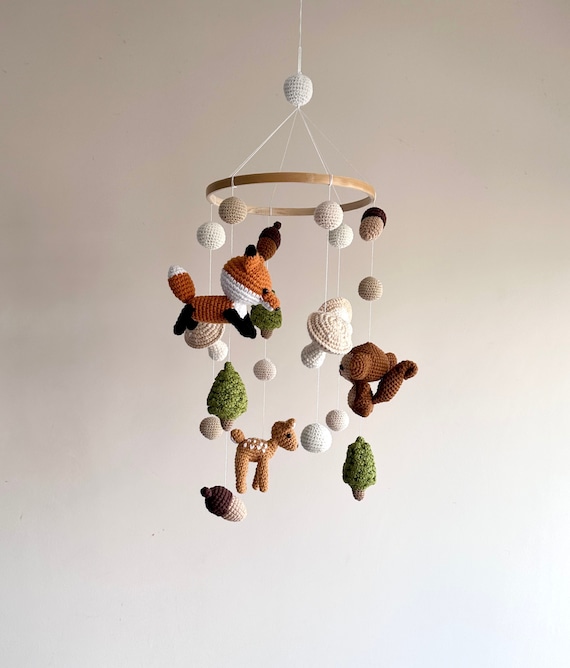
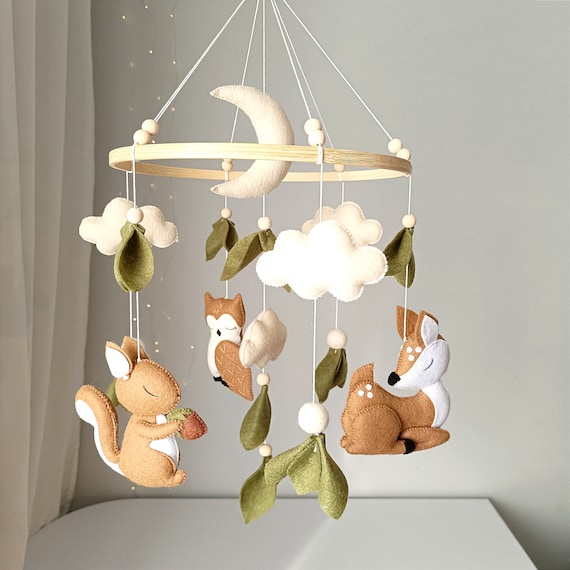
Handmade Woodland Theme Baby Mobile for Nursery Decor
Gather Materials
Gather materials like wooden branches, felt leaves, forest animal figures, strings, and a hoop to serve as the base for your project. Start by collecting sturdy wooden branches of varying sizes to create the structure of your craft. Look for branches that are straight and free of any rot or damage. Next, acquire felt leaves in different colors to add a vibrant touch to your design. These can be either pre-cut or you can cut them yourself to achieve the desired shapes.
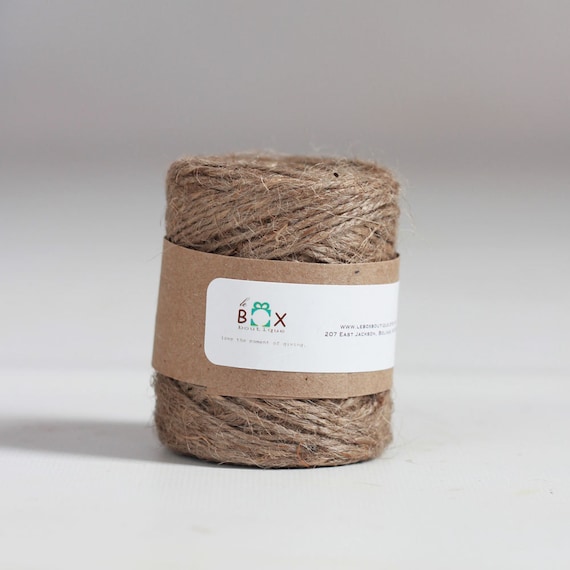
Incorporate forest animal figures such as miniature deer, squirrels, or birds to bring your creation to life. These can be found at craft stores or online. Additionally, grab some strings to hang the elements together and give your project a whimsical look. Finally, secure a hoop as the base for your mobile – this can be a metal or wooden hoop depending on your preference. By gathering these materials, you’ll have everything you need to get started on your nature-inspired craft project.

Cut and Shape Elements
Cut out the felt leaves using sharp scissors. Choose different shades of green to add variety. Make sure to cut various sizes and shapes to mimic real leaves found in a forest. For example, cut out oval, heart-shaped, and pointed leaves to create a realistic look. Arrange the felt leaves in a pile to use later in your project.
Paint the wooden branches with brown acrylic paint using a paintbrush. Apply a thin, even layer of paint to cover the entire surface of the branches. Let the paint dry completely before moving on to the next step. For instance, you can paint the branches in a darker shade to create a more natural appearance. Ensure you cover all sides of the branches for a polished finish.
Sculpt the animals using air-dry clay. Use your hands to mold the clay into the desired animal shapes, such as squirrels, birds, or foxes. Add details like eyes, ears, and tails by shaping small pieces of clay and attaching them to the main body. For instance, create texture on the animals’ fur using a toothpick or a small sculpting tool. Let the clay animals dry completely before incorporating them into your forest-themed project.
Attach Elements to Strings
- Thread the needle with a suitable thread color that complements the elements you want to attach to the string.
- Carefully select the order in which you want to string the elements to ensure a balanced and visually appealing design.
- Start by piercing the needle through the first element, gently pulling it through until it reaches the desired position on the string.
- Continue threading the needle through each element, maintaining even spacing between them to create a cohesive look.
- After attaching all the elements, secure the thread by creating a knot at the end to prevent them from sliding around.
- Trim any excess thread to tidy up the finished piece and ensure it is ready to be displayed or worn.
Assemble Base
- Attach the strings: Begin by tying the forest elements to the strings securely. Ensure they are evenly spaced to maintain balance and symmetry in the mobile. You can use a double knot to secure the elements in place effectively.
- Connect the strings to the hoop: Once the forest elements are attached to the strings, carefully connect the strings to the hoop. Start by finding the center of the hoop and attaching the top strings first, then work your way around, evenly distributing the elements to create a visually pleasing mobile structure.
- Adjust and secure: After attaching the strings with forest elements to the hoop, take a step back and check the overall balance and design. Make any necessary adjustments to ensure the mobile hangs correctly and looks aesthetically pleasing. Once you are satisfied with the arrangement, secure all knots tightly to prevent any elements from falling off.
Balance and Adjust
Check the balance of the mobile by holding it up at the center point. Rotate it to see if it hangs evenly. If one side is lower than the other, adjust by moving the pieces around until it hangs level. For example, if one side is too heavy, remove a few pieces from that side and rebalance. Similarly, if one side is too light, add more pieces to that side until it is balanced. Keep testing the balance by rotating the mobile until it hangs evenly without tilting to one side.
Another example is to check the height of each piece on the mobile to ensure they are all at the same level. If one piece is hanging lower than the others, adjust its position by either raising it or lowering the adjacent pieces. Continue to make small adjustments until all pieces are at the same level. Test the balance again by rotating the mobile and observe if it hangs evenly. Repeat these steps as needed until the mobile hangs perfectly balanced.
Final Thoughts and Tips
In conclusion, creating a forest theme baby mobile is a fun and rewarding project that allows you to bring a touch of nature into your nursery. By following the steps outlined in this blog post, you can design and assemble a charming mobile that will captivate your little one’s imagination and add a whimsical element to their space. Enjoy the process and cherish the moments spent crafting a unique and personalized decoration for your baby’s room.

Hi there! I’m Vivian Reid, the founder and chief artisan behind Handmade Purity. With a background in art history and an enduring passion for all things handmade, I’ve always been captivated by the beauty and uniqueness of artisanal craftsmanship.

Great question! I recommend using a sturdy and transparent string like fishing line to give the illusion that the elements are floating. It also provides better durability compared to regular thread.
I would love to see a follow-up article on how to incorporate different textures like felt or fabric into the forest theme baby mobile design. Do you have any plans to cover that in the future?
Thank you for the suggestion! Adding textures like felt or fabric can definitely enhance the visual appeal of the baby mobile. I’ll consider creating a future article that explores incorporating different materials into the design. Stay tuned!
What type of strings do you recommend using for attaching the elements? Would regular thread work, or should I opt for something more durable like fishing line?
I followed your guide and created a forest theme baby mobile for my niece. She absolutely loves it and it has helped soothe her during nap times. Thank you for the detailed instructions!
I’m thrilled to hear that your niece enjoys the forest theme baby mobile! It’s heartwarming to know that my guide contributed to creating a soothing environment for her. Thank you for sharing your success story!
I actually used miniature animal figurines instead of cutouts for my forest theme baby mobile, and it turned out really cute! It’s a fun alternative for those who want a more 3D effect.
That’s a fantastic idea! Using miniature animal figurines adds a unique touch to the mobile. Thanks for sharing your variation!