In this step-by-step guide on how to choose the right iron-on patch for a garment, we aim to simplify the process of personalizing and enhancing your clothing items. By providing detailed steps and considerations, we help you navigate through the selection of iron-on patches with confidence. Whether you’re looking to add a touch of flair or cover up a hole, this guide will assist you in making the right choice for your garment. Personalize your style effortlessly with the perfect iron-on patch that suits your unique taste and personality.

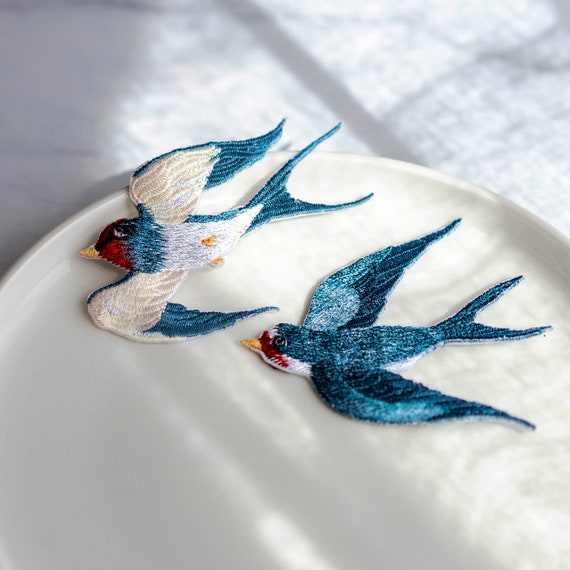
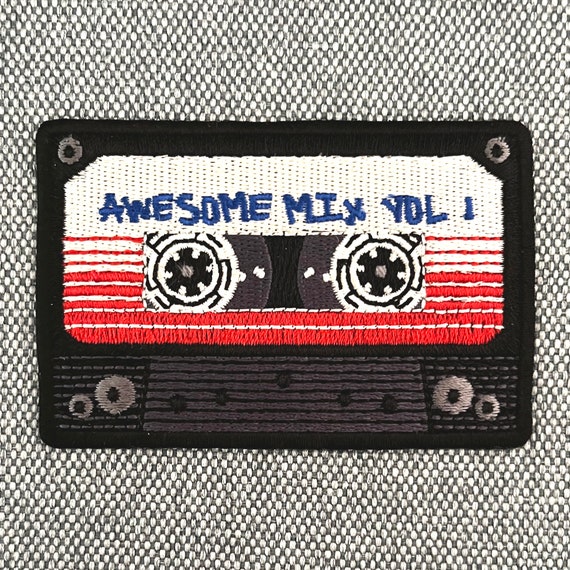
Ironing on a Patch: Step-by-Step Guide
Understand the Fabric
Identify the fabric of your garment as this will determine the type of iron-on patch suitable. Begin by checking the clothing label or conducting a simple fabric test if unsure. Different fabrics such as cotton, denim, polyester, and nylon require specific patches for optimal adhesion. Once you know the fabric type, select an iron-on patch that is compatible with it for the best results. Using the wrong patch on a particular fabric can lead to poor adhesion or damage the garment. Familiarize yourself with the fabric of your garment before choosing an iron-on patch to ensure a secure and long-lasting application.
Choose the Patch Type
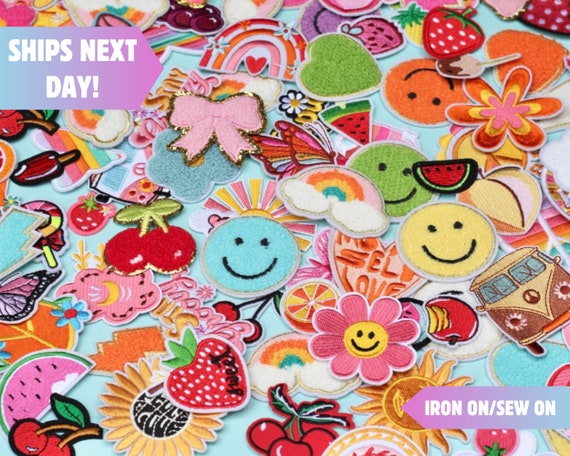
Choose the type of patch that best suits your style and preferences. Opt for an embroidered patch for a classic and textured look. Select a woven patch if you prefer a more detailed and intricate design. For a cost-effective and colorful option, choose a printed patch. Consider the overall aesthetic you want to achieve and match it with the type of patch that aligns with your vision. Take into account factors such as durability, appearance, and personal taste when making your selection. Explore different samples of each type to determine which one best fits your needs.
Consider Patch Size and Design
Decide on the size and design of the patch based on where you want to place it on the garment. Larger patches naturally draw more attention and may look better on the back of a jacket or shirt. For smaller patches, consider placing them on pockets or sleeves for a more subtle look that still adds a touch of style. When choosing the size, take into account the proportion of the garment and the overall aesthetic you want to achieve. Experiment with different placements by pinning the patch in various locations to see which works best before committing to sewing it on. Remember that the size and design of the patch can greatly impact the overall look of the garment, so take your time to find the perfect placement.
Check Adhesive Quality
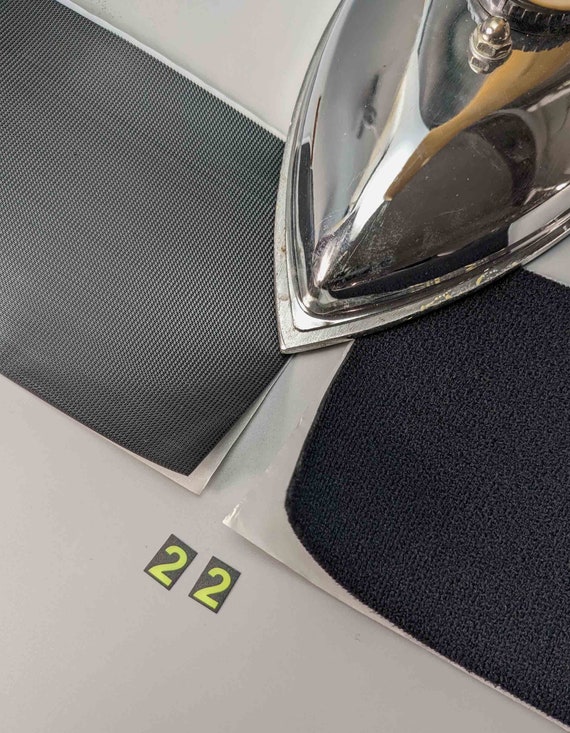
Inspect the adhesive on the patch before applying it. Make sure it appears smooth and evenly distributed to ensure proper adhesion. Gently press the patch onto the fabric and apply heat using an iron on the recommended setting. Avoid using excessive force while ironing, as this can damage the fabric or the patch itself. Once heat-activated, allow the patch to cool completely before testing its bond by gently tugging on the edges. If the patch firmly adheres, it indicates good adhesive quality. For example, patches made with strong heat-activated adhesives like polyurethane are ideal for long-lasting durability. Be sure to follow any specific instructions provided by the patch manufacturer for the best results.
Test Placement
Pin the patch onto the desired spot on the fabric.
Check the placement in a mirror to ensure it looks right.
Make any necessary adjustments by moving the patch around.
Verify that the patch is straight and centered correctly.
Once satisfied with the placement, proceed with ironing it on securely.
Iron-on the Patch
Read and carefully follow the instructions that come with the patch before ironing it onto your garment. This will ensure you apply it correctly and achieve the best results. Here’s how to iron-on the patch effectively:
- Prepare the Garment: Start by placing the garment on a flat, heat-resistant surface like an ironing board.
- Position the Patch: Put the patch in the desired location on the garment, making sure it’s straight and centered.
- Apply Heat Evenly: Use a dry iron set to the appropriate temperature as indicated on the patch instructions. Ensure the iron is not too hot to avoid damaging the patch or the fabric.
- Cover with a Cloth: Place a thin cloth or a pressing cloth over the patch and garment to protect them from direct heat.
- Press Firmly: Press down firmly on the patch with the preheated iron for the recommended amount of time. Apply pressure evenly to all parts of the patch.
- Check Adhesion: After ironing, gently lift the edge of the patch to check if it’s adhered properly. If not, repeat the ironing process.
By following these steps and applying heat evenly while pressing firmly, you can ensure the patch adheres securely to your garment for a professional-looking finish.
Final Touches
Allow the patch to cool completely before wearing the garment. Once cooled, check the edges for secure attachment and re-iron if necessary.
Inspect the edges of the patch to ensure they are firmly attached to the fabric. If you notice any loose corners or edges, grab your iron and set it to the appropriate heat setting for the fabric of the garment. Place a thin cloth over the patch to protect it, then press the iron down firmly on the edges for about 15-20 seconds. Be careful not to move the iron around too much to avoid displacing the patch.
For example, if you’ve just applied a decorative patch to the back of your denim jacket, let it cool down completely. After it has cooled, run your fingers along the edges to check for any areas that might need reinforcement. If you find any loose sections, cover the patch with a cloth and use the iron to secure them in place. Remember, always follow the care instructions for both the patch and the garment to prevent any damage during the ironing process.
Final Tips for Selection
In conclusion, selecting the perfect iron-on patch for your garment requires careful consideration of fabric compatibility, design preferences, adhesive quality, and proper attachment techniques. By following these steps, you can ensure a customized and long-lasting enhancement to your clothing.
Essential Supplies

Iron-on Patch Selection Advice

Hi there! I’m Vivian Reid, the founder and chief artisan behind Handmade Purity. With a background in art history and an enduring passion for all things handmade, I’ve always been captivated by the beauty and uniqueness of artisanal craftsmanship.



Could you recommend specific brands or stores where we can find high-quality iron-on patches?
My patch didn’t stick well after ironing. Any advice on improving adhesive quality or troubleshooting tips?
I have a question about the ideal iron temperature for different fabric types. Could you provide some guidance on that?
Sure thing! I’ll update the guide to include temperature recommendations for various fabrics. Thanks for the suggestion!
I love the idea of testing patch placement before ironing it on. It really helped me decide on the best position!
It’s great that the testing step worked for you! Did you encounter any challenges during the process?
How can I remove an iron-on patch if I make a mistake during application? Any tips on fixing errors?
Any advice on customizing iron-on patches? I’d love to add a personal touch to mine!
I tried using a hair straightener instead of an iron to apply the patch, and it worked like a charm! It was easier to control the pressure.
That’s a creative approach! Thanks for sharing your alternative method. It might help others who prefer using a hair straightener.
I’d love to hear success stories from others who have tried this guide! Share your positive experiences, everyone!
Absolutely! If you’ve had a successful iron-on patch application, please share your story and inspire others to give it a try.
I followed your guide step by step, and my patch came out perfectly! It added a cool touch to my denim jacket.
That’s awesome to hear! Feel free to share any tips you discovered during your application process.
I never knew fabric type mattered so much when choosing iron-on patches! Thanks for the tip!