Creating micro crochet animals is a delightful craft that allows for infinite creativity and expression. To enhance the appeal and bring these tiny creatures to life, incorporating different colors is key. By blending various shades and hues, you can add depth, character, and personality to your creations. In this step-by-step guide, we will explore techniques for seamlessly integrating a diverse color palette into your micro crochet animals. From choosing harmonious color schemes to implementing color changes, this guide will empower you to elevate your crochet skills and craft colorful, eye-catching mini creatures.
How to Create the Perfect Stripes in Crochet || Amigurumi Tutorial
Selecting Color Palette
Choose a color palette that complements the animal you are crocheting. Consider the animal’s natural colors or opt for a vibrant and playful color scheme. For example, if you are crocheting a bear, you might want to use shades of brown and beige for a realistic look. Alternatively, if you’re making a unicorn, you could go for pastel colors like pink, blue, and purple for a whimsical touch. Remember to think about how the colors will blend together and enhance the overall appearance of your crochet animal.
Another example is for a crocheted parrot. Consider using bright colors such as red, green, blue, and yellow to capture the essence of this colorful bird. Or, if you’re creating a panda, stick to black and white yarn to capture the iconic look of this animal. Experiment with different combinations and see what works best for the specific animal you are crocheting. Don’t be afraid to get creative and play around with various hues to bring your crochet project to life!
Preparing Materials
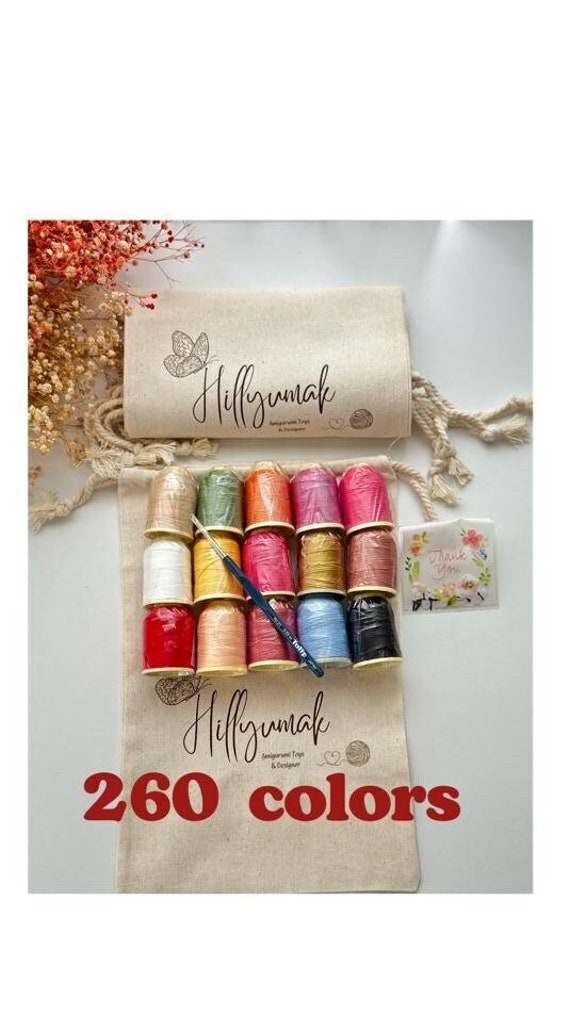
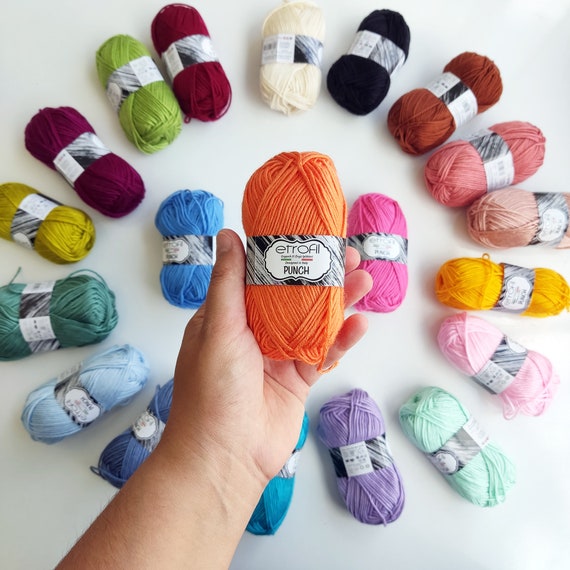
- Gather high-quality yarn in various colors, such as cotton, wool, or acrylic. For example, choose a soft cotton yarn for a baby blanket project or a cozy wool yarn for a winter scarf.
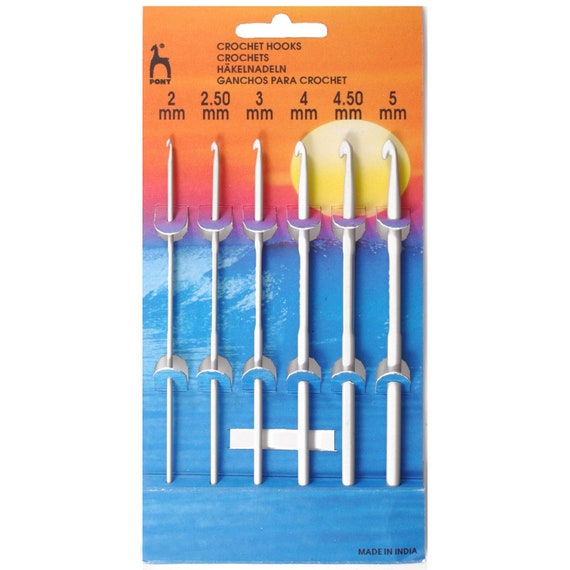
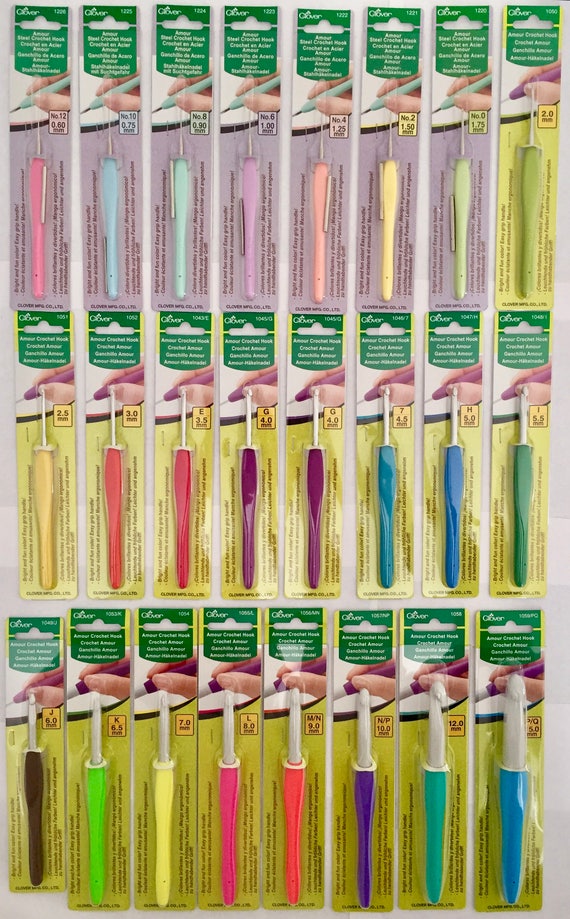
- Select crochet hooks in different sizes depending on the thickness of the yarn. For instance, use a larger hook for bulky yarn and a smaller hook for fine yarn.
- Make sure to have a pair of sharp scissors to cut the yarn cleanly and neatly during your project.
- Additionally, gather any other necessary tools such as stitch markers, tapestry needles for weaving in ends, and a measuring tape for accuracy. These tools will help you start your crochet project efficiently and with ease.
Creating Base Structure
Begin crocheting the base structure of the animal using a primary color. Start by selecting the primary color yarn of your choice and create a slip knot. Make the necessary number of chains as specified in the pattern to form the initial foundation chain. Once the desired number of chains is achieved, begin working the first row of single crochet stitches into the chains. Remember to maintain an even tension while crocheting to ensure a consistent base structure. Continue working rows in single crochet until the base structure reaches the desired length or size for your project. This primary color base will provide a solid foundation for adding additional colors and details to bring your crochet animal to life.
Color Placement Strategy
Plan out where each color will be used on the animal. Start by identifying the main areas of the animal’s body where different colors will be applied. Decide on the color for the animal’s fur or skin base, then allocate colors for stripes, spots, or patches. Next, consider the facial features such as eyes, nose, mouth, and ears. Determine which colors will enhance these features and bring the animal to life. Remember to think about any additional details like claws, scales, or feathers that may require specific colors to stand out. By mapping out the color placement for each part of the animal, you can ensure a cohesive and visually appealing final result.
Incorporating Color Changes
Switch yarn colors precisely at the designated stitches to practice seamless color changes. To achieve a neat and professional finish, first, work until the stitch before the color change. Next, insert the hook into the stitch, yarn over with the current color, and pull up a loop. Then, drop the old color and pick up the new color. Yarn over with the new color and pull it through the two loops on the hook to complete the stitch. Continue working with the new color from that point forward. By practicing this technique of changing colors at the right stitches, you will improve your crochet skills and create clean color transitions in your projects.
Adding Details
Choose various colors of thread to differentiate specific features of the micro crochet animal. Start by selecting a vibrant color for the eyes to make them stand out. Use a fine crochet hook to carefully crochet small circles for the eyes. Next, choose a contrasting color for the nose and crochet a tiny triangle or oval shape. To add intricate patterns, switch between colors as needed. For example, create stripes by alternating between two different colored threads as you crochet. Experiment with different color combinations to bring out the realism and character of your micro crochet animal.
Final Touches
- Start by weaving in any loose ends on your micro crochet animal using a small crochet hook or yarn needle. Make sure to secure the ends tightly to prevent unraveling.
- Check the color placement of your micro crochet animal, ensuring that each color transition looks seamless and well-organized.
- Review the entire piece carefully, paying close attention to details such as stitch tension, symmetry, and overall appearance.
- Make any necessary adjustments by adding or removing stitches as needed to achieve the desired shape and look.
- Take your time to perfect the final touches on your micro crochet animal, as these small details can make a big difference in the overall quality of your project.
Bringing Your Creations to Life
In conclusion, the key to bringing micro crochet animals to life lies in the colorful palette you choose to work with. By embracing a variety of hues and combinations, you can unlock boundless opportunities for creativity and individuality, resulting in delightful and one-of-a-kind creations.
Necessary Supplies
Colorful Crochet Creations
Crafting Your Own Tiny Crochet Menagerie
- Start by choosing a simple pattern for a micro miniature tiny crochet animal
- Use thin crochet thread and a small crochet hook to create miniature details
- Practice making small stitches and working with intricate patterns to bring the tiny animal to life
- Consider displaying your finished micro miniature tiny crochet animal in a small shadow box or as part of a jewelry piece
Frequently Asked Questions (FAQs) about Micro Crochet Animals
Yes, there are numerous specific patterns available for creating different types of crochet animals. These patterns can be found in books, online resources, and through crochet designers. Each pattern will provide detailed instructions on the stitches and techniques needed to create a particular animal, making it easier for crocheters to follow along and produce the desired result.
One way to display or showcase micro miniature tiny crochet animals once they are finished is to place them in a shadow box or a small display case. This will not only protect the crocheted animals from dust and damage but also allow them to be easily viewed and admired. Another option is to create a miniature scene or diorama using the crocheted animals as part of the display. This can add a creative element to the showcase and make the animals stand out.
When making tiny creations, safety concerns to be aware of include the risk of ingesting small parts, handling sharp tools or hot materials, and potential eye strain due to working with small details for extended periods. It is important to use appropriate safety gear like gloves, goggles, and work in a well-ventilated area. Additionally, keep small parts away from young children or pets to prevent accidental ingestion.
Yes, there are different techniques for creating different types of animals depending on whether they are land animals or sea creatures. Land animals typically have adaptations for walking, running, or climbing, so sculptors may focus on capturing these movements and postures in their work. On the other hand, sea creatures often have streamlined shapes for swimming and unique features like fins or tentacles, which artists might emphasize when creating sculptures or artwork. The environment and behavior of the animal are important factors that artists consider when using different techniques to represent them accurately.
Yes, people do use crochet animals for specific purposes such as keychains or jewelry. Crochet animals can be made into keychains by attaching a keyring to them, or they can be turned into jewelry by adding hooks or chains to create earrings, necklaces, or bracelets. These handmade items are popular because they are unique, cute, and customizable.

Hi there! I’m Vivian Reid, the founder and chief artisan behind Handmade Purity. With a background in art history and an enduring passion for all things handmade, I’ve always been captivated by the beauty and uniqueness of artisanal craftsmanship.
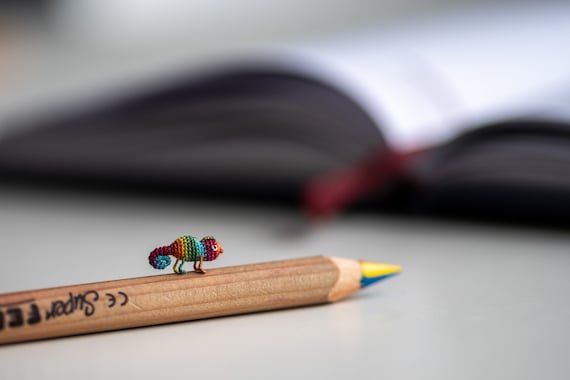
I loved this guide! I decided to add a pop of neon colors to my micro crochet animals for a modern twist. Instead of following a set color palette, I mixed and matched bright neon hues with pastel shades. It gave my animals a funky and unique look that really stands out!
I had some trouble with the color changes in step 5. The transitions between colors looked a bit messy on my animals. Any tips on how to make the color changes smoother and more seamless?
Sorry to hear about the trouble you faced with the color changes. One tip is to carry the yarn not in use loosely along the side of your work to avoid tight pulls that can distort the shape. You can also try practicing the color changes on a small swatch first to get comfortable with the technique.
This guide was super helpful! I would love to see a future article on incorporating metallic threads into micro crochet animals for a touch of sparkle and shine. It could add a whole new dimension to the color scheme and make the animals even more eye-catching.
Thank you for the suggestion! Incorporating metallic threads is a great idea for adding a bit of glamour to micro crochet animals. I’ll definitely consider covering that topic in a future article.
I disagree with the color placement strategy outlined in step 4. I think a more randomized approach could create a more playful and whimsical look for the micro crochet animals. What do you think about experimenting with a less structured color placement?
I appreciate your input! A more randomized color placement can indeed result in a fun and whimsical design. It’s great to experiment and personalize the process. Feel free to try out different approaches to color placement to see what works best for your style and vision.