This step-by-step guide on how to prepare shells for decoupage offers detailed instructions on how to properly clean, dry, and prime shells to be used in decoupage projects. The guide aims to help craft enthusiasts and artists enhance their decoupage creations by ensuring that the shells are well-prepared and ready for the decoupage process. From selecting the right shells to applying a suitable primer, each step is outlined clearly to assist beginners and experienced artists alike in achieving beautiful and long-lasting decoupage designs on shells.
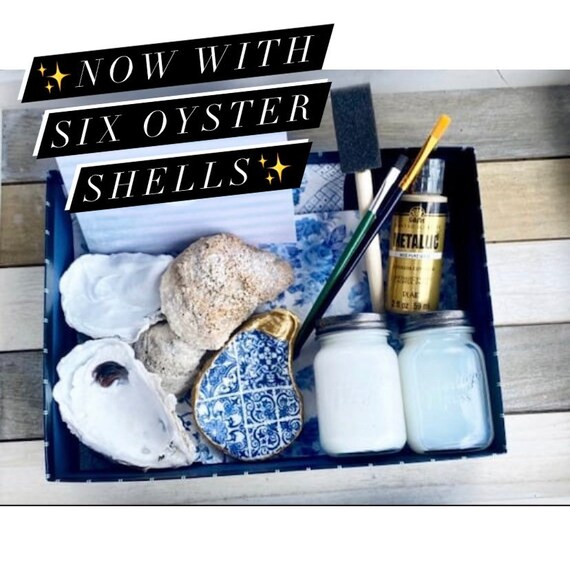
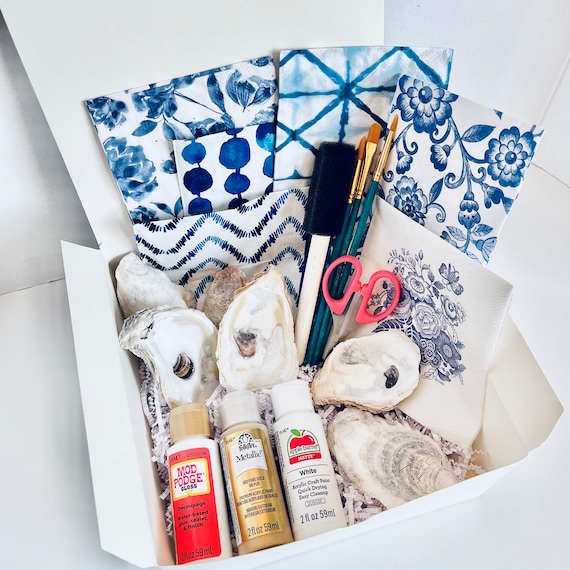
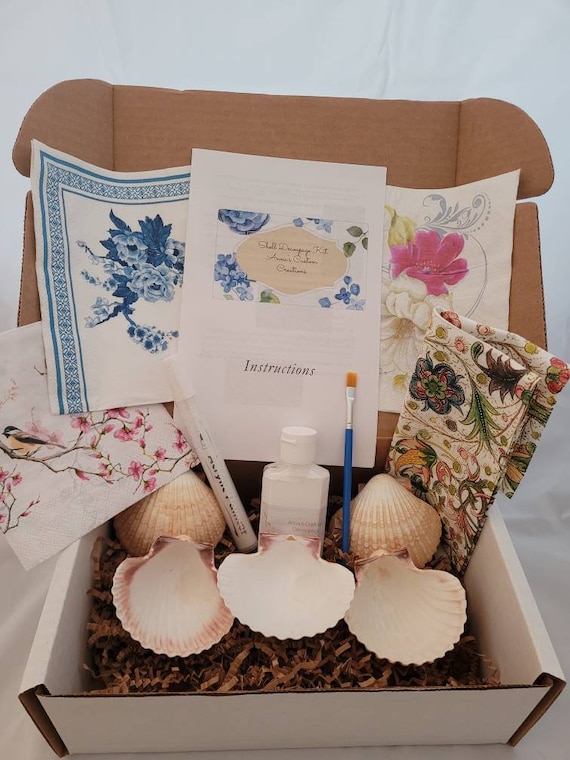
Shabby Chic Decoupage Sea Shell DIY Home Decor Upcycle Pink Decor Decoupage Tutorial
Select Shells
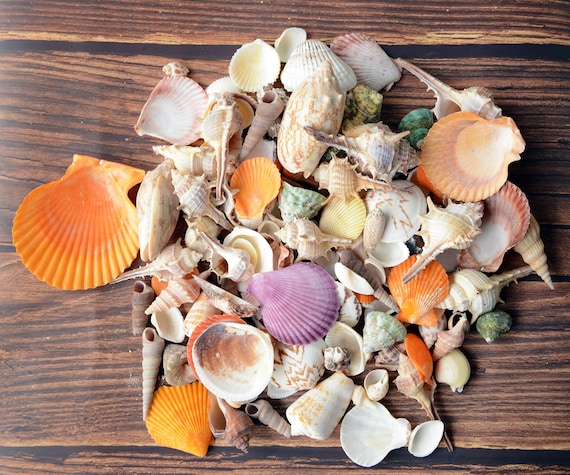
Select a variety of sizes and shapes of shells for your decoupage project. Sort through your collection to find shells that appeal to you, ensuring they are free of dirt and debris. Clean the shells by gently washing them in warm, soapy water and letting them air dry completely. This step will help prevent any unwanted residue from affecting your decoupage process. Remember to choose shells that vary in size and shape to add visual interest to your final piece.
Inspect each shell to make sure it is completely dry before incorporating them into your decoupage project. Lay out your shells in a well-lit area to assess their cleanliness. Remove any remaining dirt or sand by gently wiping them with a soft cloth. Once you have selected a diverse range of shells and ensured they are clean and dry, you are ready to proceed with your decoupage project. Incorporating different sizes and shapes of shells will create a visually dynamic and captivating finished product.
Prepare Shells
Inspect the shells for any imperfections or rough edges. Hold each shell and run your fingers along its surface to feel for any bumps or rough spots. Smooth out any rough spots using sandpaper or a file. Gently rub the sandpaper or file over the rough areas in a circular motion until they are smooth to the touch. Be careful not to apply too much pressure to avoid damaging the shell.
Check each shell thoroughly to ensure all imperfections have been smoothed out. Remember, even small rough edges can cause issues later on, so take your time with this step. Make sure to inspect the entire surface of each shell to guarantee a smooth finish. Once you have finished sanding or filing, run your fingers over the shells once more to double-check for any remaining rough spots.
Base Coat
Apply a base coat of gesso or white acrylic paint to the shells. Start by laying out the shells on a flat surface and ensuring they are clean and dry. Using a paintbrush, coat each shell evenly with gesso or white acrylic paint. Make sure to cover the entire surface of the shell to create a smooth foundation for decoupage. Allow the base coat to dry completely before moving on to the next step.
For example, take a small shell and dip a paintbrush into gesso. Apply the gesso in smooth strokes, covering the entire shell with a thin layer. Repeat this process for each shell, ensuring that all surfaces are coated uniformly. Alternatively, you can use white acrylic paint instead of gesso, following the same technique of applying a smooth, even coat to each shell. Let the shells dry for the recommended time according to the specific product instructions before continuing with your decoupage project.
Decoupage Design
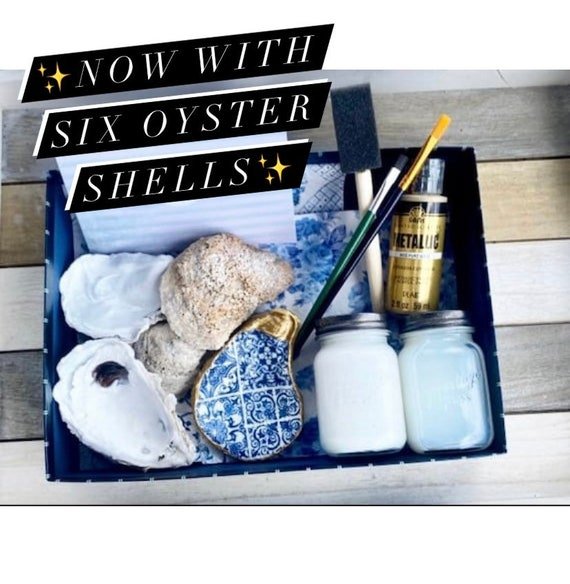
Cut out your chosen decoupage design from napkins or paper by carefully following the outline of the image. Ensure to trim any excess paper to fit the size of the shell you are working on. Next, apply a generous layer of decoupage glue onto the surface of the shell using a paintbrush, covering the entire area where you plan to place the design.
Carefully place the cut-out design on top of the wet decoupage glue, ensuring it is centered and aligned correctly. Gently press down on the design to remove any air bubbles and smooth out any wrinkles. Allow the glue to dry completely before applying a protective top coat to seal the design in place. Repeat this process for additional designs or layers, if desired, to create a multi-dimensional decoupage design on your shell.
Seal and Finish
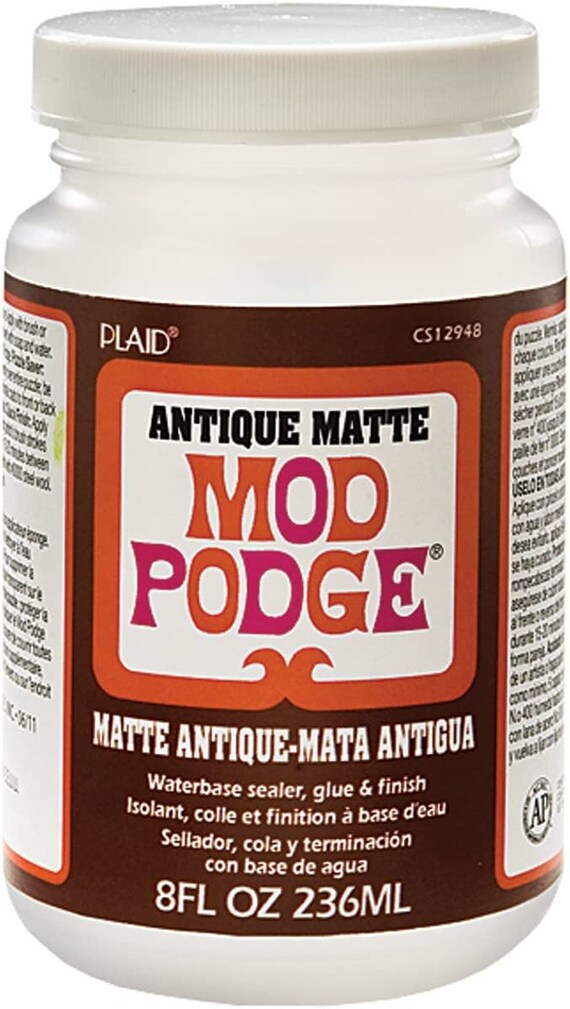
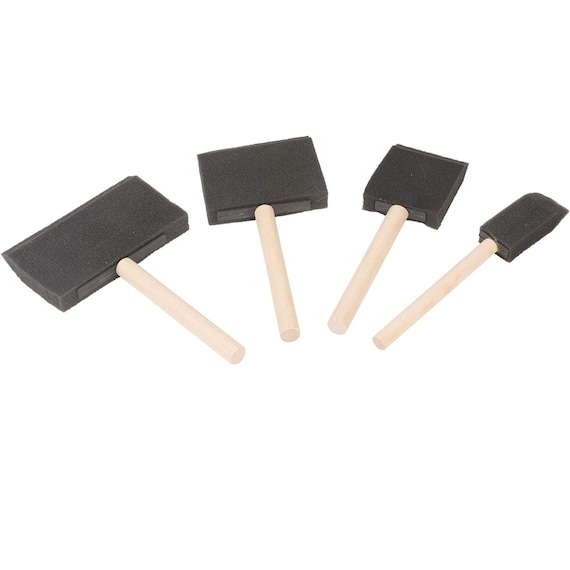
Apply a generous layer of decoupage glue or varnish over the dried decoupage design on the shell. Make sure to cover the entire surface evenly to seal the design effectively. Use a brush or sponge applicator to spread the sealant smoothly.
Allow the sealed shell to dry completely before handling or using. This will ensure that the sealant forms a protective layer over the design, making it more durable and resistant to wear and tear. Once dry, your decoupaged shell will be ready to be displayed or used as desired.
Final Thoughts
In conclusion, preparing shells for decoupage involves key steps such as selecting sturdy shells, cleaning and drying them thoroughly, applying a base coat, decorating with chosen designs, and finishing with a protective sealant. Each step is crucial in ensuring the shells are ready for decoupage and will result in a beautiful and durable finished product. By following these steps diligently, you can transform ordinary shells into stunning pieces of art through the art of decoupage.
Materials Needed

Crafting Shell Art

Hi there! I’m Vivian Reid, the founder and chief artisan behind Handmade Purity. With a background in art history and an enduring passion for all things handmade, I’ve always been captivated by the beauty and uniqueness of artisanal craftsmanship.

I think using larger shells for this project could make a statement piece for a coastal-themed room. What do you think?
I tried a different method of sealing the shells with resin instead of traditional sealants. It gave them a high-gloss finish and a durable protective layer.
That’s a creative adaptation! Resin can indeed provide a different look and added durability to the shells.
I used the decoupage technique on shells to create unique place cards for a beach-themed dinner party. The guests loved them!
Any advanced tips on how to incorporate glitter or metallic accents into the decoupage design for a more glamorous finish?
I followed this guide last weekend and decorated some seashells for my bathroom. They turned out so cute and added a nice touch to the space!
I had trouble getting the base coat to dry evenly on the shells. Any tips on how to avoid streaks or blotchiness?
Thank you for sharing your success story! It’s great to hear that the guide helped you enhance your bathroom decor.
I found that using printed napkins with intricate designs worked really well for decoupaging shells. They added a delicate touch to the final look.
Thanks for sharing your experience! Using printed napkins is a great way to achieve detailed and intricate designs on the shells.
I decided to add a pop of color by painting the shells before applying the decoupage design. It really made the patterns stand out more!
Can you recommend specific sealants for a glossy or matte finish? I’m looking to experiment with different textures.