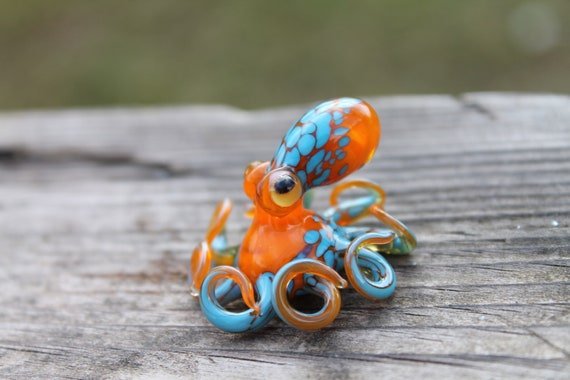
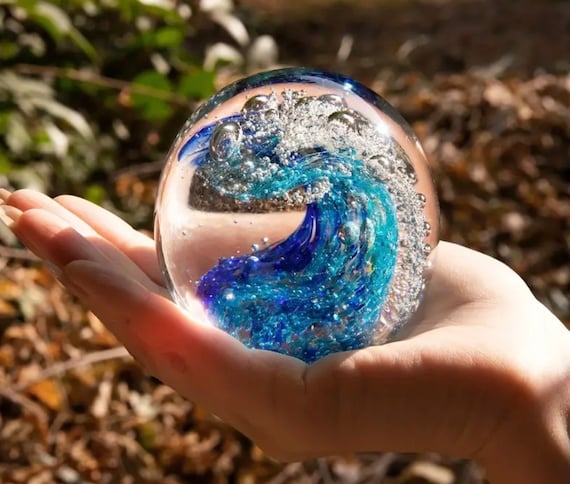
Creating intricate designs with hand-blown glass is a meticulous and artistic process that requires a skilled hand and a creative mind. The first step involves gathering the molten glass and shaping it using various tools to achieve the desired design. Artists use traditional techniques such as marvering, blowing, and shaping to bring their creations to life. Each piece is carefully crafted, cooled, and annealed to ensure its strength and durability. The result is a stunning piece of glass art that showcases the beauty and complexity of this time-honored craft.
Highly Skilled Glass Blowing Artisan Impresses with Amazing Craftsmanship, I’m Extremely Satisfied After Watching
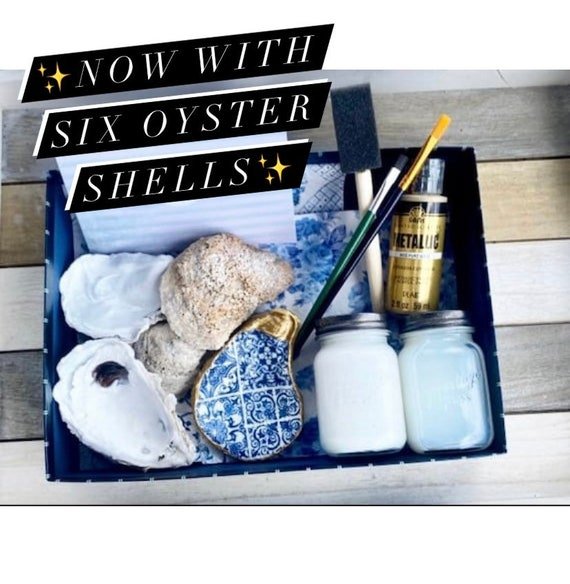
Gathering Materials and Tools
- Gather all necessary materials: Collect glass rods, blowpipes, tweezers, and a furnace. Ensure you have enough of each item to complete your project without interruptions.
- Prepare your workspace: Clean and organize your workspace to create an efficient working environment. Remove any clutter and ensure all tools are easily accessible.
- Clear your workspace: Wipe down all surfaces to remove dust and debris.
- Organize your tools: Arrange glass rods, blowpipes, tweezers, and other materials in a way that is easy to reach during your project.
- Check your equipment: Ensure your furnace is in good working condition and ready for use.
- Maintain a clean area: Regularly tidy up your workspace to prevent any accidents or misplaced tools during your work.
Heating the Glass
Heat the glass in the furnace until it reaches a malleable state. Ensure the glass is evenly heated by rotating the blowpipe continuously. This will prevent any parts from cooling down and becoming rigid.
Continue to monitor the glass’s temperature by observing its color and consistency. Remember to rotate the blowpipe consistently to maintain an even temperature throughout the glass. Once the glass has reached the desired malleable state, you are ready to mold and shape it according to your design.
Shaping and Designing
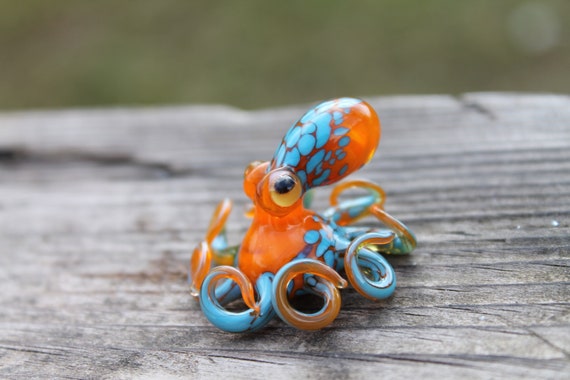
Use tweezers to carefully pinch and twist the molten glass into desired intricate shapes. Rotate the glass quickly to avoid excessive heat in one area. Create delicate details by gently pressing the paddles against the glass while it is still malleable.
- Pinch and Twist: Grab the glass with tweezers and twist in the desired direction to form intricate patterns.
- Rotate Swiftly: Keep the glass rotating to prevent overheating in one spot and maintain even shaping.
- Use Paddles: Press paddles lightly against the glass to create smooth edges and detailed designs.
- Work Efficiently: As the glass cools rapidly, act swiftly to mold it into the desired shape before it hardens.
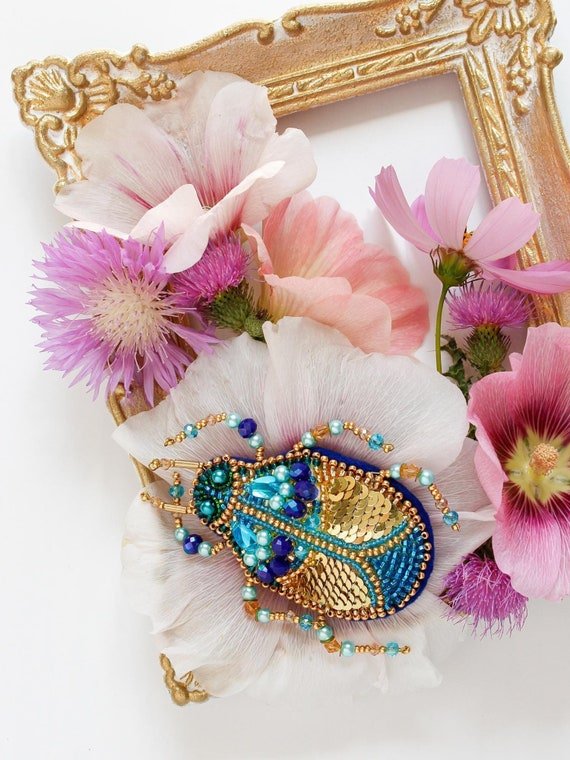
Adding Details
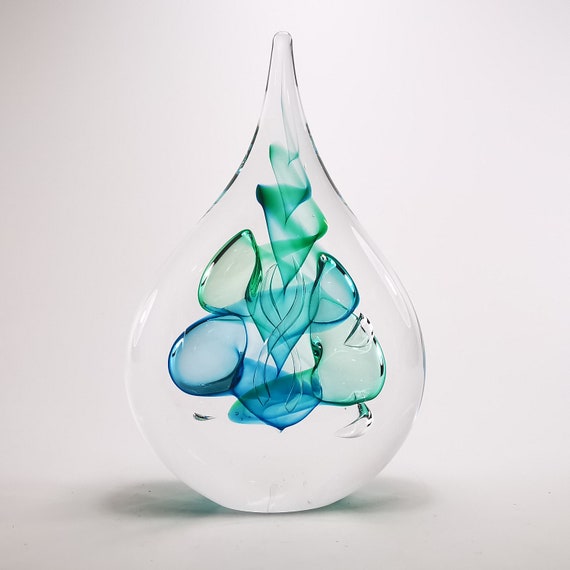
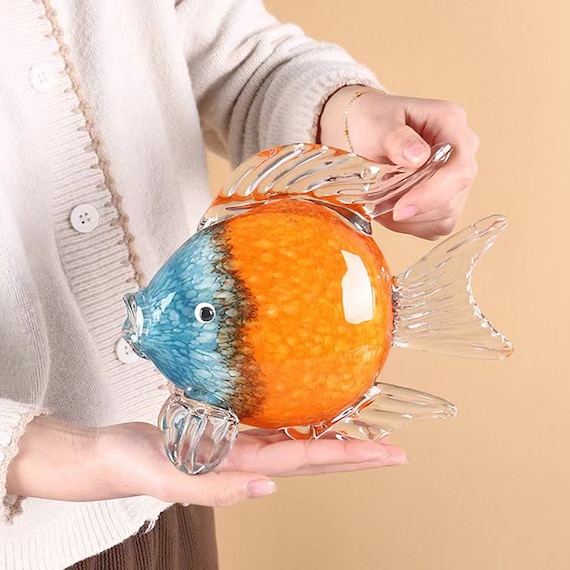
To incorporate additional colors or patterns by melting glass chips onto the design, first, prepare the materials. Gather glass chips of various colors and sizes that you want to add to your design. Ensure you have a heat-resistant surface to work on, such as a ceramic tile or a metal sheet. Have a pair of tweezers or a tool for handling hot objects ready.
- Select the glass chips: Choose the colors and sizes that complement your existing design. For example, if you are working on a floral pattern, opt for green chips for leaves and red chips for flowers.
- Position the glass chips: Place the selected glass chips on your design where you want them to appear. Experiment with different arrangements to find the best layout.
- Melt the glass chips: Using a heat source such as a torch or a kiln, carefully melt the glass chips onto the design. Move the heat source in a circular motion to ensure even melting.
- Allow the design to cool: Once the glass chips have melted and fused with the design, let the piece cool down slowly. Avoid touching the molten glass to prevent burns.
Cooling and Finishing
Place the finished piece in a temperature-controlled kiln to cool slowly. This process is crucial to prevent thermal shock that can damage the glass. Slow cooling ensures that the glass cools uniformly, reducing the risk of cracks or breakage.
- Carefully transfer the glass piece to the kiln using appropriate tools to avoid any mishaps.
- Set the kiln to a low temperature and allow the glass to cool gradually.
- Check the manufacturer’s instructions for the recommended cooling time based on the type and thickness of glass used.
- Once the glass has cooled completely, remove it from the kiln using protective gear to prevent burns.
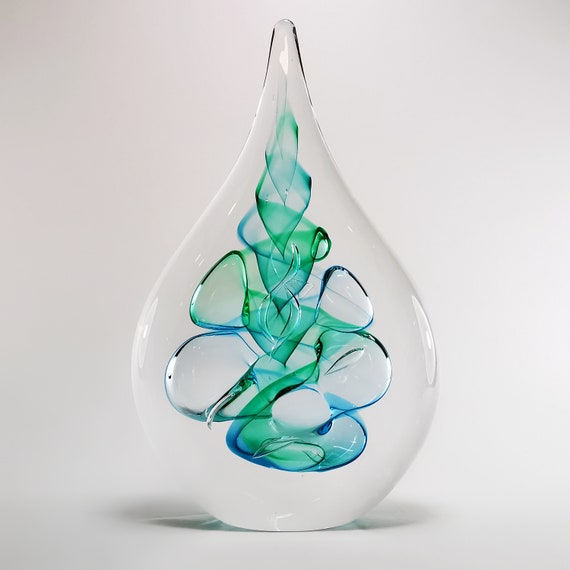
Polish the glass to bring out its shine and intricacy. This step enhances the visual appeal of the piece and highlights its details.
- Use a soft, lint-free cloth to apply a glass polish or cerium oxide, depending on the type of glass.
- Gently rub the polish in circular motions over the surface of the glass to achieve a smooth and shiny finish.
- Pay attention to intricate areas or crevices to ensure all parts of the piece are polished evenly.
- Finally, wipe off any excess polish and admire the brilliance of your finished glass piece.
Crafting Art through Glass Blowing
In conclusion, mastering the art of creating intricate designs with hand blown glass is a rewarding journey that requires dedication and precision. With practice and a keen eye for detail, you can unleash your creativity and craft stunning glass art pieces that will captivate and inspire.

Hi there! I’m Vivian Reid, the founder and chief artisan behind Handmade Purity. With a background in art history and an enduring passion for all things handmade, I’ve always been captivated by the beauty and uniqueness of artisanal craftsmanship.


I wonder if there are alternative methods for cooling the glass more rapidly after shaping, especially for those who want to speed up the process. Any suggestions?
One alternative method for rapid cooling is using a temperature-controlled kiln. It allows for controlled cooling rates, which can help speed up the process without compromising the glass quality.
I’d love to see a guide on incorporating recycled glass into hand blown designs! It could be a great way to promote sustainability in art.
That’s a fantastic idea! Incorporating recycled glass into hand-blown designs is a creative and sustainable approach. I’ll definitely consider creating a guide on that topic. Thank you for the suggestion!
I experimented with incorporating colored glass rods into my designs during step 4, and it added a whole new dimension to my creations. It’s a fun way to personalize your work!
Incorporating colored glass rods is a fantastic way to enhance your designs! It’s great to hear you found a fun and creative way to personalize your art.
Can you recommend any resources or classes for advanced glass blowing techniques beyond what’s covered in this guide? I’m eager to expand my skills.
For advanced glass blowing techniques, I recommend exploring local glass studios or art schools that offer specialized classes. Hands-on experience is invaluable!
I found that using a graphite marver helped me shape the glass more precisely during step 3. It made a big difference in creating intricate designs!
I recommend wearing heat-resistant gloves during the glass shaping process to avoid burns. Safety first!
Absolutely! Safety should always come first when working with hot glass. Thanks for emphasizing the importance of using heat-resistant gloves.
Thank you for sharing your tip on using a graphite marver. It’s a great tool to enhance precision in shaping glass designs.
I followed this guide and managed to create a beautiful glass art piece for my friend’s birthday. She loved it! Thanks for the detailed instructions.
That’s fantastic to hear! I’m thrilled the guide helped you create a special gift. Keep honing your skills, and who knows what other amazing pieces you’ll make!
Any tips on how to add delicate swirls and patterns during step 4? I always struggle with making them look neat and detailed.
Adding delicate swirls and patterns can be tricky, but try using a fine-pointed flame-working torch for better control and detail. Practice makes perfect!