
This step-by-step guide provides easy instructions on how to make a simple handmade wind chime. Handmade wind chimes are charming and soothing additions to any outdoor space, creating a relaxing ambiance with their gentle sounds. The purpose of this guide is to offer a straightforward and enjoyable way for individuals to create their own personalized wind chime using common household materials. From selecting the right materials to assembling the chime, this guide walks you through each step to help you craft a beautiful and unique wind chime for your home or garden.

Make Your Own Wind Chimes from Junk Drawer Items
Gather Materials
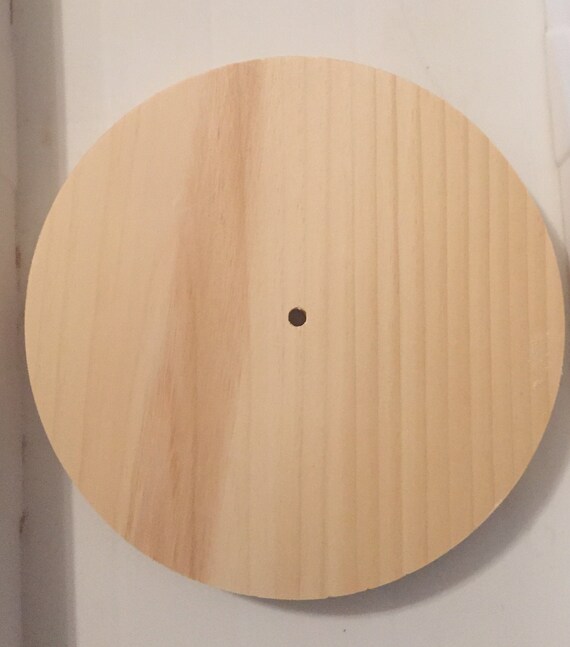
Gather metal tubing, string, beads, and a wooden circle for the project. Select the materials based on the size and design requirements. Check the quality and quantity of each item to ensure you have enough for the task. Organize the materials in a workspace for easy access during the crafting process.
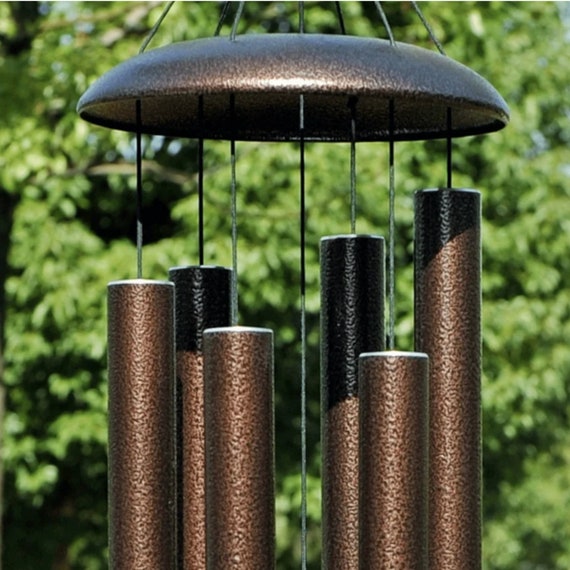
Cut the Tubing
- Use a cutting tool to trim the metal tubing into various lengths.
- Ensure the tubing is securely held in place before cutting.
- Measure and mark the desired length on the tubing before making the cut.
- Use a steady hand to make a straight and clean cut on the marked spot.
Create Hanging Strands
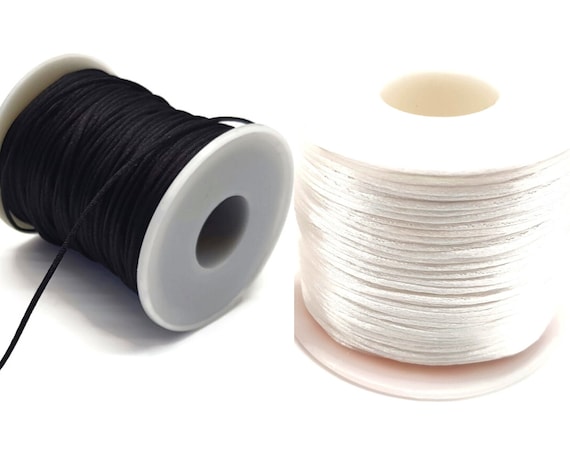
- Cut the string into your desired lengths using scissors.
- Thread the beads onto the string in any pattern or arrangement you prefer.
- Tie a knot at the end of each strand to secure the beads in place.
- Repeat these steps to create multiple hanging strands for your desired project.
Attach Tubes to Base
- Secure metal tubing to wooden circle using knots or glue:
- Tie a secure knot at the end of each metal tubing.
- Thread the metal tubing through the designated holes on the wooden circle.
- Once in position, either secure the metal tubing further by tying more knots around the wooden circle or apply glue for a permanent fixture.
- Ensure that the metal tubing is firmly attached and does not wobble before proceeding to the next step.
Assemble the Chime
Arrange the hanging strands with beads and tubes around the wooden circle. Spread out the strands evenly around the circle to ensure balance. Loop each strand over the top of the circle and secure it in place. Make sure the beads and tubes hang freely for the best chime effect.
Test the Chime
Hang the wind chime in a breezy area. Listen to the sound it produces. Adjust the position or length of the chimes if needed to achieve the desired tone. Repeat this process until you are satisfied with the sound of the wind chime.
Finalize Design
- Make any final adjustments or decorations to personalize the wind chime. Add beads, charms, or paint to enhance the visual appeal.
- Ensure all components are securely attached and balanced. Test the wind chime by gently tapping it to hear the sound.
- Hang the wind chime in a suitable location where it can catch the breeze. Enjoy the soothing sounds of your personalized creation!
Add Hanging Cord
- Select a sturdy cord: Choose a durable material such as nylon or strong twine that can withstand outdoor conditions.
- Tie one end securely: Use a strong knot such as a double knot or a figure-eight knot to attach one end of the cord to the top of the wind chime.
- Determine desired length: Decide how long you want the wind chime to hang and cut the cord to the appropriate length.
- Attach the other end: Secure the other end of the cord to a hook or nail where you want to hang the wind chime, ensuring it is firmly in place.
Enjoy Your Creation
Hang your handmade wind chime in a spot that receives a gentle breeze to let it create soothing melodies. Ensure the wind chime is securely hung from a sturdy hook or branch so that it can move freely in the wind. Adjust the height as needed to allow the chimes to sway and produce their harmonious sounds. Enjoy the delightful tunes as they bring a sense of tranquility to your outdoor space.
Crafting Your Own Melody
In conclusion, making a simple handmade wind chime is a rewarding and creative project that can be easily accomplished with basic materials and tools. By following the steps outlined in the guide, you can create a beautiful and melodious wind chime to add a touch of charm to your outdoor space. Remember to choose materials that resonate well, consider the placement for optimal sound, and personalize your wind chime to reflect your style. Enjoy the process and the soothing sounds of your handmade creation!
Essential Supplies

Crafting Wind Chimes Success
Assembly Instructions
- Hang the wind chimes in a place where they can catch the breeze easily, such as near a window, on a porch, or in a garden
- Experiment with different locations and heights to find the spot where the wind chimes produce the most pleasing sound
- Pay attention to the materials used in the wind chimes – metal chimes will produce a brighter sound, while wooden chimes will produce a softer sound
- Regularly clean and maintain the wind chimes to ensure they remain in good condition and continue to produce beautiful sounds
Answers to Common Wind Chime Questions
Handmade wind chimes can bring several benefits to your home or garden. They can add a touch of beauty and tranquility to your surroundings through their soothing sounds. The gentle tinkling of the chimes can create a calming atmosphere, helping to reduce stress and promote relaxation. Additionally, wind chimes can also help to deter birds and other pests from your garden, as the sound and movement can deter them from settling in the area. Overall, handmade wind chimes can enhance the ambiance of your space and provide both aesthetic and practical benefits.
The different materials used in wind chimes affect the sound they produce due to their density, weight, shape, and composition. For example, metal wind chimes tend to produce a bright and resonant sound, while wooden wind chimes create a softer and more mellow tone. The length and thickness of the tubes or rods also impact the sound produced. Overall, the materials used play a significant role in determining the timbre and quality of the sound produced by wind chimes.
Yes, handmade wind chimes can be used both indoors and outdoors. Indoors, wind chimes can add a decorative touch and create a calming atmosphere. Outdoors, they can be hung in a garden, patio, or balcony to enhance the outdoor ambiance with their soothing sounds. It is important to consider the size and material of the wind chimes when choosing where to place them to ensure they are suitable for the intended environment.
When hanging handmade wind chimes, there are a few considerations to keep in mind for optimal performance and aesthetics. Firstly, ensure that the wind chimes are hung in an area where they can catch the wind easily to produce sound. Secondly, consider the length of the strings or tubes to prevent tangling and allow for free movement. Additionally, choose a location where the wind chimes won’t be obstructed by walls or other structures to allow for unrestricted movement and sound. Lastly, consider the weight of the wind chimes and use appropriate hooks or hardware to securely hang them to avoid damage or accidents.
Yes, there are cultural and traditional significances associated with handmade wind chimes in various cultures around the world. For example, in Feng Shui, wind chimes are believed to attract positive energy and ward off negative energy. In some Native American tribes, wind chimes are used in ceremonies to bring about harmony and connection with nature. Additionally, in Japanese culture, wind chimes are often hung during the summer to create a soothing sound that is believed to cool down the atmosphere. These cultural beliefs and practices highlight the importance of handmade wind chimes in different societies.
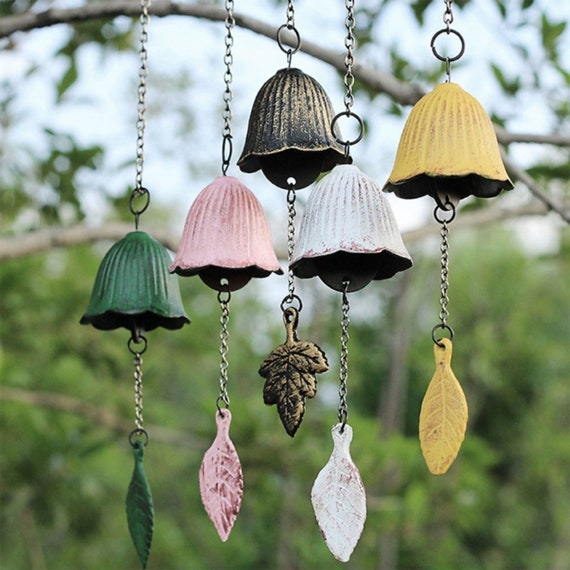
Common materials used to make handmade wind chimes include metal, wood, glass, bamboo, seashells, and ceramic. These materials are chosen for their ability to produce different tones and sounds when struck by the wind.
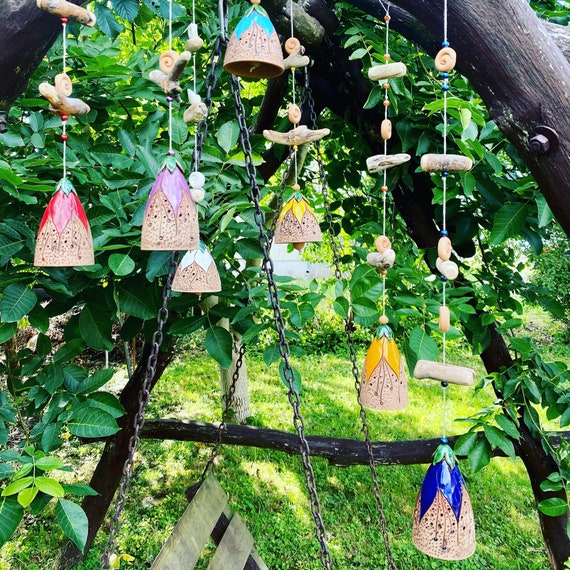
Yes, handmade wind chimes can be made using recycled materials. Many crafters and artisans use recycled items such as old keys, bottle caps, tin cans, and other materials to create unique and eco-friendly wind chimes. This helps to reduce waste and give new life to discarded materials.
Yes, handmade wind chimes can often be customized or personalized. Many artisans and craftspeople offer the option to add specific colors, materials, or designs to create a unique wind chime tailored to individual preferences. Customization may include choosing specific types of metal, wood, or glass for the chimes, selecting a particular theme or style, or even adding personalized engravings or charms. It ultimately depends on the artisan or seller providing the handmade wind chimes.

Hi there! I’m Vivian Reid, the founder and chief artisan behind Handmade Purity. With a background in art history and an enduring passion for all things handmade, I’ve always been captivated by the beauty and uniqueness of artisanal craftsmanship.


I just finished making the wind chime following this guide, and it turned out amazing! The steps were easy to follow, and the end result looks beautiful in my garden. Thanks for the clear instructions!
I noticed that my wind chime doesn’t sound as melodious as I’d like during step 6. Any tips on adjusting the lengths of the tubing to get a better sound?
Adjusting the lengths of the tubing can indeed affect the sound. Try trimming the tubes gradually and testing the chime until you achieve the desired sound. Experimenting with different lengths may help!
I faced some issues with attaching the tubes to the base during step 4. They kept coming loose. Any troubleshooting tips to ensure they stay secure?
Securing the tubes to the base can be tricky. Make sure to use strong adhesive or durable wire to attach them firmly. You can also try reinforcing the connections with extra glue or wire for added stability.
Thank you for trying out the guide and sharing your success! I’m glad to hear that the wind chime came out beautifully in your garden.
Can you write a guide on how to make a larger wind chime for those with bigger outdoor spaces? I’d love to see an expansion on this topic!
That’s a great idea! I’ll definitely consider creating a guide on making larger wind chimes for bigger outdoor spaces. Thank you for the suggestion!
I have a tip for step 3 – consider using colorful beads or crystals on the hanging strands to add a pop of color and sparkle to your wind chime. It really enhances the overall look!
That’s a fantastic suggestion! Adding colorful beads or crystals can definitely make the wind chime more visually appealing. Thanks for sharing your tip.