
This step-by-step guide provides instructions on how to print and arrange photos in your mini album. Mini photo albums are a great way to preserve memories in a compact and creative format. The guide aims to help individuals effectively print their favorite photos and organize them in a visually appealing layout within a mini album. With clear and easy-to-follow steps, readers can learn how to curate their photos, select appropriate sizes, and arrange them in a way that tells a cohesive and engaging story within their mini album.
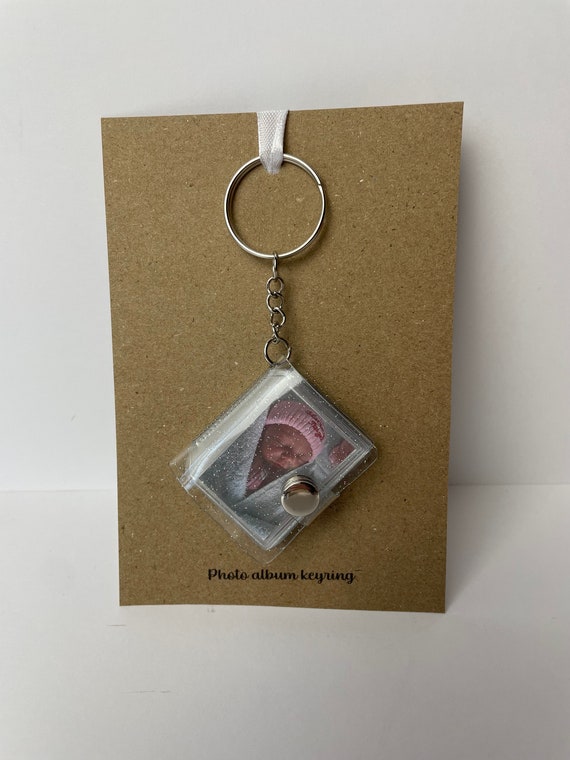


Creating Polaroid-Inspired Gifts ❤️ #CraftIdeas #Handmade
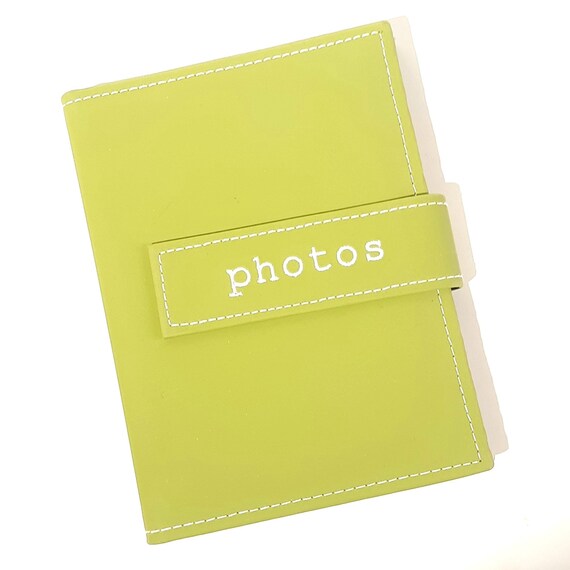
Gather Materials
Gather your favorite photos and select a mini album that fits the theme or style you want to create. Sort through your pictures and choose the ones that evoke memories or emotions you want to preserve. Next, grab adhesive or photo corners to secure the photos in your mini album. Ensure you have enough adhesive to attach all the pictures securely.
Once you have your photos and adhesive ready, start arranging the pictures in the mini album. Get creative with your layout and combine different sizes and orientations for an interesting visual effect. As you place the photos, consider adding decorative items like stickers or using markers to write captions or little notes beside each picture. Personalize your mini album with these embellishments to make it truly unique and reflective of your style.
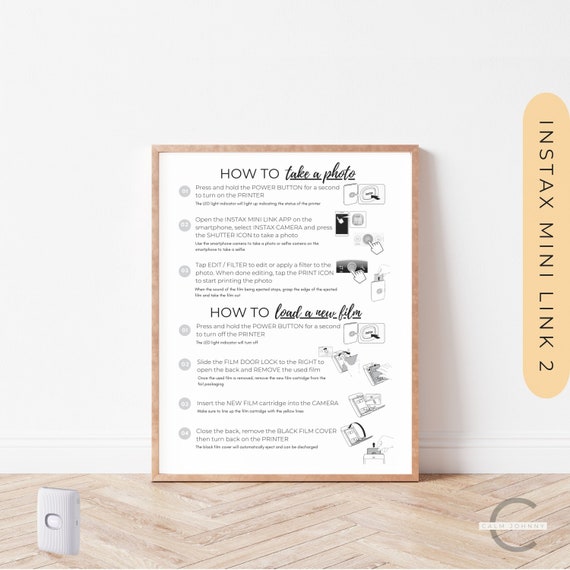
Select and Print Photos
Choose the photos you want to include in your album by opening your photo library or storage device. Scroll through the images and select the ones you wish to print by clicking on them. Ensure the selected photos are of high quality and well-composed for the best printing results.
Print the chosen photos in the desired size by connecting your device to a printer. Open the photo editing software or app that is compatible with your printer. Upload the selected photos and adjust the size settings according to your preferences. Once satisfied with the layout and size, hit the print button and wait for the photos to be printed in the size you specified.
Examples:
- Choose the Photos: Open your photo gallery, click on the vacation folder, and select the beach sunset picture.
- Print the Photos: Connect your laptop to the printer, open the photo editing app, upload the selected beach sunset picture, adjust the size to 8×10 inches, and print.
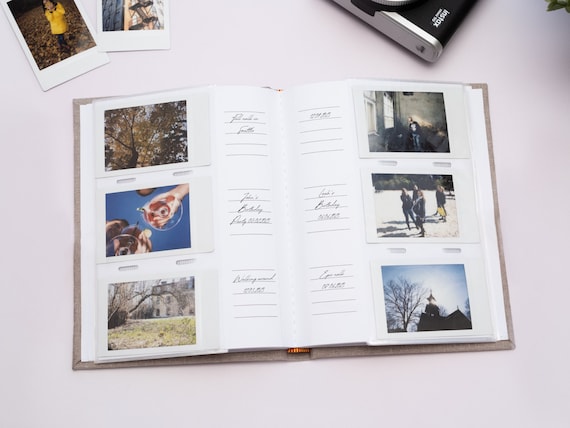
Arrange Photos
Decide on the layout of your photos within the album by first considering the themes you want to showcase. Create sections within your album for different themes such as family gatherings, vacations, or special occasions. For example, group together all the photos from a beach trip in one section and photos from a birthday party in another. This will help your album feel cohesive and organized.
Next, arrange your photos in chronological order to tell a story through your album. Start with the earliest photos and progress through time to the most recent ones. For instance, begin with childhood pictures, followed by teenage years, and end with recent events. This approach will help create a visual timeline that allows viewers to follow along with the progression of events. By organizing your photos thematically and chronologically, you will create a visually appealing and engaging album that will be enjoyable for both you and your viewers.
Adhere Photos
Secure your photos in place using adhesive or photo corners. Start by applying a thin, even layer of adhesive on the back of your photo. Ensure the adhesive does not spill over the edges to avoid any damage. Alternatively, carefully position photo corners on each corner of your photo to hold it in place securely. Press down gently to ensure firm adhesion.
Make sure your photos are well-positioned and aligned correctly on the page. Use a ruler or straight edge to guide you in placing your photos evenly. Check that there is equal spacing between each photo to create a balanced look. Take your time to align each photo accurately, ensuring they are straight and centered on the page.
Add Decorative Touches
Enhance your mini album by adding stickers, captions, drawings, or any other decorations to personalize it. Start by selecting a variety of decorative elements that reflect the theme or style you want for your mini album. Remember, the goal is to make your album unique to you or the recipient. Here’s how you can add these decorative touches effectively:
- Stickers: Choose stickers that match the color scheme or theme of your album. Place them strategically on the pages to complement your photos or add visual interest.
- Captions: Write short captions or quotes that relate to the images on your mini album. Use colorful pens or markers to make them stand out.
- Drawings: Add hand-drawn illustrations or doodles to some pages to create a whimsical touch. You don’t have to be an artist; simple sketches can add a personal flair.
- Additional Decorations: Consider using washi tape, ribbons, sequins, or other embellishments to further enhance the look of your mini album. Experiment with different textures and shapes to create a dynamic layout.
By incorporating these decorative elements, you can transform your mini album into a cherished keepsake that captures your memories in a visually appealing way. Let your creativity shine through as you personalize each page with stickers, captions, drawings, and other decorations that reflect your unique style and story.
Final Thoughts
In conclusion, printing and arranging photos in your mini album is a creative and fun way to preserve memories. By following the steps outlined in this guide, you can easily create a personalized and visually appealing mini album. Remember to choose high-quality photos, use adhesive carefully, and experiment with different layouts to best showcase your memories. Embrace your creativity and enjoy the process of making your mini album a unique keepsake for years to come.

Hi there! I’m Vivian Reid, the founder and chief artisan behind Handmade Purity. With a background in art history and an enduring passion for all things handmade, I’ve always been captivated by the beauty and uniqueness of artisanal craftsmanship.

I’m not very crafty, but this guide made the process seem manageable and fun. Excited to try it out and see how my mini album turns out!
I prefer to lay out all my photos and decorative elements on the album pages before adhering anything. It helps me visualize the final look and make adjustments easily. Anyone else follow a similar process?
That’s a great tip! Planning the layout beforehand can definitely help in creating a cohesive design. Thanks for sharing your approach.
Could you write a follow-up guide on how to create custom covers for mini albums? I think it would be a great addition to this guide and help personalize the albums even more.
I decided to add some pressed flowers in between the photos for a nature-inspired touch. It turned out really lovely and added a unique element to the album. What other creative embellishments have people tried?
Adding pressed flowers sounds like a beautiful idea! Thank you for sharing your creative touch. Other readers, feel free to share your unique embellishments and ideas!
I followed these steps and created a beautiful mini album for my best friend’s birthday. She absolutely loved it! It was such a special and personalized gift. Thank you for the helpful guide!
Thank you for sharing your success story! I’m glad to hear that the guide helped you create a meaningful gift for your friend.
I found that using double-sided adhesive squares instead of glue made it easier to adhere photos without the mess. The squares are more precise and less likely to create wrinkles on the photos. Has anyone else tried this method?
I had some trouble with my printer not aligning the photos correctly when printing. Any tips on how to ensure the photos are printed accurately for this project?
I’m sorry to hear about the printing issue. Make sure to check your printer settings and paper size before printing. You can also try adjusting the photo layout to fit the album dimensions.