In this step-by-step guide, you will learn how to sew a floor cushion cover with a zipper, adding both comfort and style to your living space. Creating a handmade cover allows you to customize the fabric and size to perfectly suit your décor. Follow along to elevate your home with this DIY project!
Sewing an Upholstery Zipper: Step-by-Step Guide
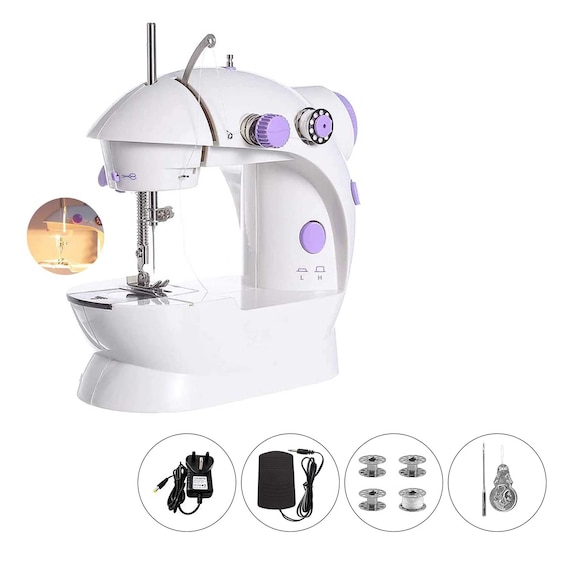
Gather Materials and Tools
Gather materials such as fabric, zipper, sewing machine, scissors, measuring tape, pins, and thread. Start by selecting your desired fabric for the project. Ensure it is of good quality and suitable for the type of item you are making. Next, pick a zipper that matches the color and length needed for your design. Make sure it is in good condition and functions properly.
Set up your sewing area with a sewing machine, ensuring it is clean and in working order. Have a pair of sharp scissors ready to cut the fabric precisely. Grab a measuring tape to take accurate measurements for your project. Use pins to secure the fabric pieces together before sewing. Lastly, have a selection of thread colors available to match your fabric and complete the sewing process smoothly. By gathering these materials and tools, you will be well-prepared to start your sewing project with ease.
Measure and Cut Fabric
Measure and cut two fabric pieces according to the dimensions of your cushion, adding seam allowances. Start by measuring the length, width, and depth of your cushion using a tape measure. Once you have these measurements, add 1 inch to each side for seam allowances. For instance, if your cushion measures 18 inches by 18 inches, you will need to cut two fabric pieces that are 20 inches by 20 inches to account for the seam allowances.
Using fabric scissors, carefully cut out the two fabric pieces according to the dimensions you calculated. Make sure to cut straight lines and double-check your measurements before cutting to avoid mistakes. It is crucial to be precise when cutting the fabric pieces to ensure they fit your cushion correctly when you sew them together. Remember to mark the wrong side of the fabric before cutting to avoid confusion when assembling your cushion cover.
Attach Zipper
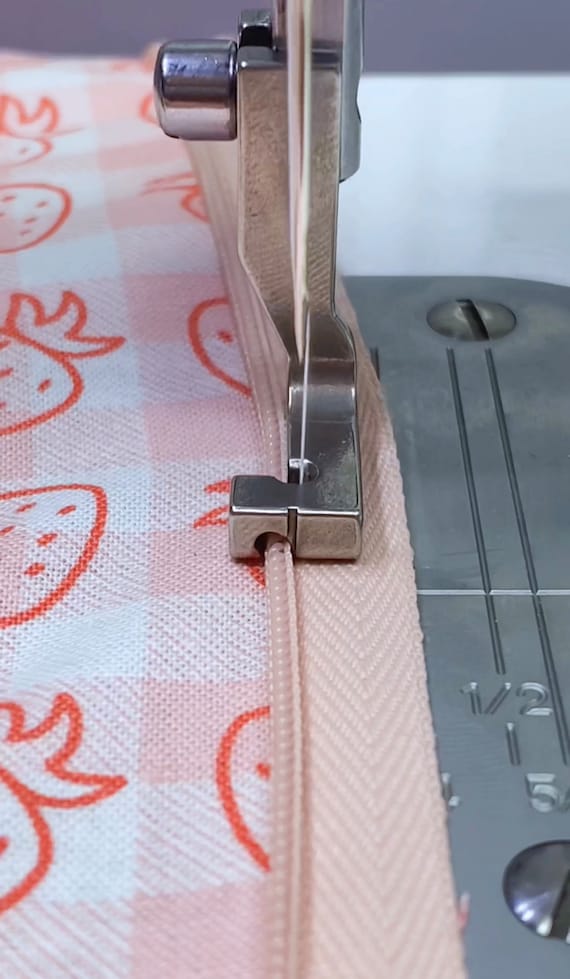
Pin the zipper onto one fabric piece with the right sides facing each other, ensuring it is centered and aligned. Start by aligning the top edge of the zipper tape with the top edge of the fabric piece. Use sewing pins to secure the zipper in place, placing them perpendicular to the edge of the fabric to keep the zipper tape flat against the fabric.
Sew the zipper onto the fabric piece using a zipper foot on your sewing machine. Begin sewing from the top of the zipper, making sure to backstitch at the beginning to secure the stitches. Sew close to the zipper teeth, moving slowly and removing the pins as you go to avoid sewing over them. Once you reach the end of the zipper, backstitch again to secure the stitches in place. Press the fabric piece with an iron to ensure a smooth finish. Repeat the same process for the other fabric piece to attach the second side of the zipper.
Sew Fabric Together
Place both fabric pieces right sides together. Pin the edges to secure them in place. Sew around the edges using a sewing machine or needle and thread, making sure to leave a small opening to turn the cover right side out.
Once you have sewn around the edges, carefully remove the pins. Reach inside the opening and gently pull the fabric through to turn the cover right side out. Use a blunt object, such as a chopstick or knitting needle, to push out the corners for a crisp finish. Finally, hand stitch the opening closed using a ladder stitch or slip stitch for a neat and seamless look.
Finish and Insert Cushion
- Trim excess fabric by cutting it close to the seams using sharp fabric scissors. Be careful not to cut the stitches. This will give your cushion cover a neater finish and remove any bulk that could affect the fit.
- Turn the cover right side out by reaching into the cover through the opening and pulling the fabric through. Use your hand to push out the corners for a crisp look. Press the seams with your fingers to flatten them and make the cover look more professional.
- Insert the cushion by gently folding or rolling it to fit through the opening. Once inside, adjust the cushion to fill out the cover evenly for a plump look. Zip up the cover carefully, making sure both sides of the zipper align properly to avoid any snagging.
- Secure any loose threads by snipping them close to the fabric with scissors. This step will prevent any unraveling and give your cushion cover a clean final appearance. Check all seams and edges for any loose threads and trim them as needed.
Final Thoughts
In conclusion, mastering the art of sewing a floor cushion cover with a zipper can add a unique and stylish flair to your home décor. By following this guide, you can create a customized piece that reflects your personal style and creativity. Embrace the joy of sewing and elevate your living space with a beautifully crafted floor cushion cover that is both functional and fashionable.
Sewing Supplies Needed

Sewing Secrets
Usage Instructions
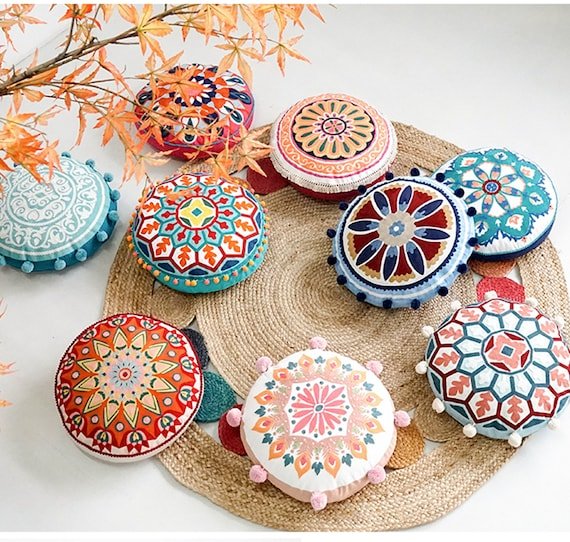
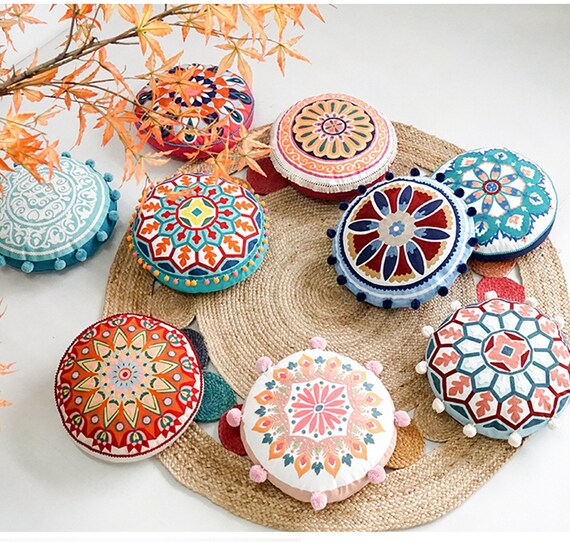
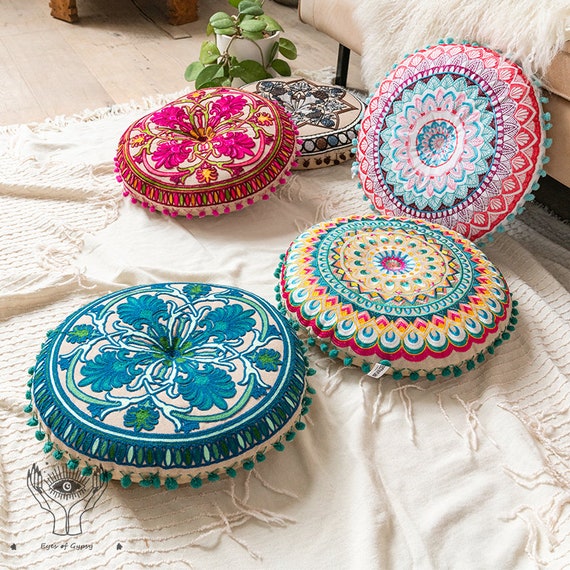
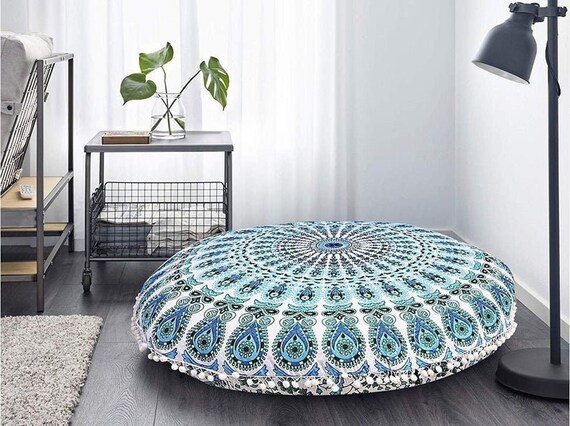
- Place the handmade floor cushion hippie throw pillow in your preferred seating area, such as a living room, bedroom, or meditation space
- Use the cushion as a comfortable seat for meditation, reading, or lounging
- Add the cushion to your home decor by mixing and matching with other pillows and blankets to create a cozy and bohemian style
- When not in use, store the cushion in a clean and dry place to maintain its quality and appearance
Frequently Asked Questions
The handmade floor cushion hippie throw pillow typically measures around 24 inches in diameter.
Yes, there are customer reviews and testimonials available for the handmade floor cushion hippie throw pillow. Customers have expressed satisfaction with the quality of the product, its unique design, and comfort level. Some have mentioned that the cushion adds a cozy and stylish touch to their living space. It is advisable to check the specific website or platform where the product is being sold to view more detailed reviews and testimonials.

Hi there! I’m Vivian Reid, the founder and chief artisan behind Handmade Purity. With a background in art history and an enduring passion for all things handmade, I’ve always been captivated by the beauty and uniqueness of artisanal craftsmanship.

Thank you for your kind words! We’re glad you found the guide helpful. Good luck with your living room project!
Do you recommend any specific type of fabric for this project? I want to ensure the cover is durable and easy to clean.
For a floor cushion cover, consider using a sturdy fabric like canvas or duck cloth for durability. These fabrics are also easier to maintain and can withstand regular use. Hope this helps!
Could you provide some guidance on how to adjust the measurements for a larger or smaller cushion size? I’d love to make covers for different sized cushions in my home.
When adjusting measurements for different cushion sizes, you can scale up or down the dimensions proportionally. Remember to add seam allowances accordingly. Feel free to reach out if you need more specific guidance on resizing the cover. Happy sewing!
I’ve been sewing for a while and find that using contrasting thread color can add a fun twist to the final look of the cushion cover. Have you experimented with thread colors to enhance the design?
I wonder if there’s a way to add some decorative elements to the cushion cover, like pom-poms or tassels. Any suggestions on incorporating those while following this guide?
I never realized how easy it was to sew a cushion cover with a zipper! Thanks for breaking down the steps and listing all the materials needed. Can’t wait to try this out for my living room makeover!
I had trouble attaching the zipper smoothly. It kept getting stuck halfway. Any tips on how to ensure the zipper glides smoothly while sewing it onto the fabric?
When attaching the zipper, make sure to unzip it slightly and use clips or pins to hold it in place. You can also try using a zipper foot attachment on your sewing machine for better control. Let us know if this helps!